
Fitness
Pallof Press: Benefits, Proper Form, Muscles Worked, and Complete Workout Guide (2026)

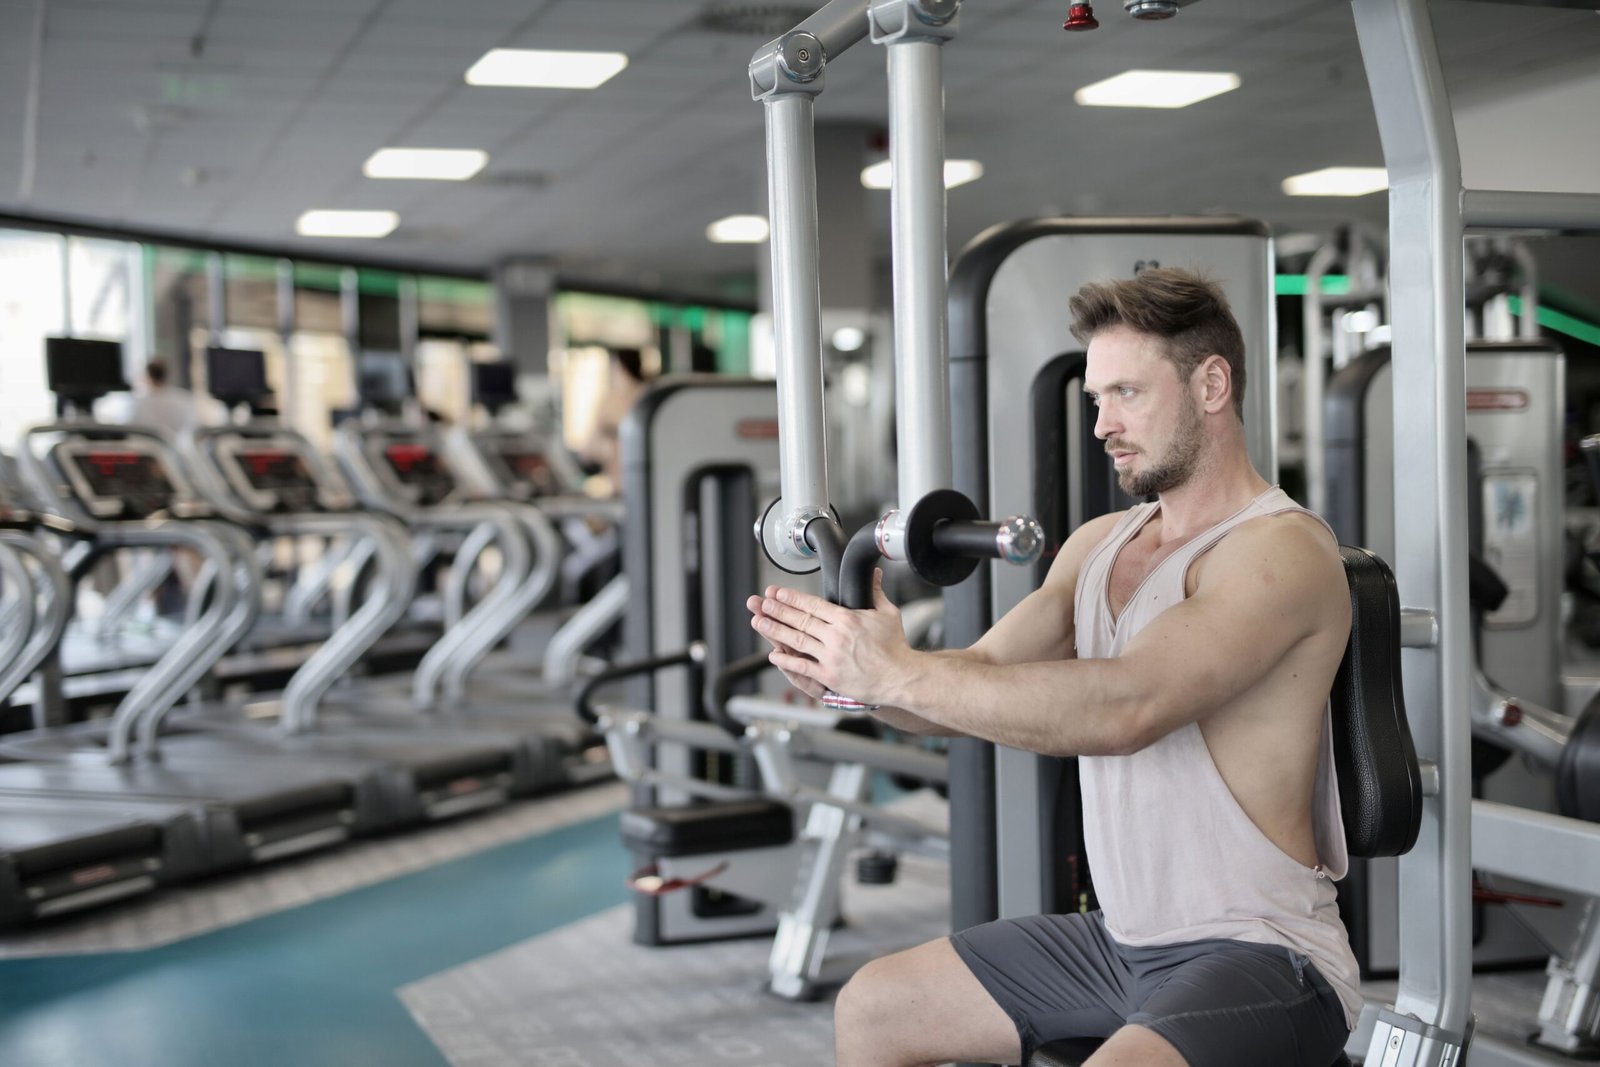
The Pallof press is one of the most effective core exercises for developing abdominal stability, improving posture, and building strength that supports everyday movement and athletic performance. Unlike traditional abdominal exercises that involve repeated bending or twisting, the Pallof press challenges the core to resist rotation while the body maintains a stable position. This makes it a valuable addition to strength training programs for beginners, experienced gym-goers, athletes, and anyone looking to improve functional fitness.
Whether we perform the exercise with a resistance band or a cable machine, the Pallof press trains the muscles responsible for keeping the torso controlled against external forces. Its straightforward movement pattern makes it accessible to many fitness levels, while its adjustable resistance allows us to increase the challenge as our strength improves. By understanding the proper technique, muscles worked, common mistakes, and effective variations, we can incorporate the Pallof press into a balanced core workout and develop greater control over how the body moves.
What Is the Pallof Press?
The Pallof press is an anti-rotation core exercise performed with a resistance band or cable machine. We position ourselves sideways to the resistance source, hold the handle or band close to the chest with both hands, and press the hands forward while resisting the force that attempts to rotate the torso toward the anchor point.
The main objective is to maintain a stable trunk throughout the movement. Rather than allowing the hips and shoulders to turn, we engage the abdominal muscles, glutes, and other stabilizing muscles to keep the body aligned. We then bring the hands back toward the chest under control and repeat the movement for the desired number of repetitions.
The exercise is named after physical therapist John Pallof and is widely used in strength and conditioning programs. Its popularity comes from its versatility: we can perform it standing, kneeling, half-kneeling, or in other controlled positions depending on our goals and abilities.
The Pallof press differs from exercises such as Russian twists and bicycle crunches because it emphasizes resisting unwanted rotation rather than producing rotation. This makes it especially useful for training trunk stability, which helps us maintain control during movements such as carrying groceries, lifting objects, running, and changing direction during sports.
Muscles Worked During the Pallof Press
The Pallof press primarily targets the muscles that stabilize the trunk. Although we may not feel the same intense abdominal contraction associated with crunches, several muscle groups work together to prevent the body from rotating.
Obliques: The internal and external obliques play a central role in resisting rotational forces. They help keep the torso facing forward as the arms move away from the chest.
Transverse abdominis: This deep abdominal muscle contributes to trunk stiffness and helps maintain control around the midsection.
Rectus abdominis: Commonly associated with the visible six-pack muscles, the rectus abdominis assists with abdominal bracing and helps control the position of the torso.
Multifidus and spinal stabilizers: These muscles help support the spine and maintain alignment while the body resists external forces.
Gluteal muscles: The glutes help stabilize the pelvis and prevent unnecessary movement through the hips.
Shoulders and arms: The deltoids, triceps, and other upper-body muscles help extend the arms and control the handle or resistance band.
The Pallof press is primarily a core stability exercise rather than a maximal-strength movement for the arms or shoulders. We should therefore focus on controlled movement, appropriate resistance, and a stable torso instead of trying to press the heaviest possible load.
How to Do the Pallof Press With Proper Form
Learning the correct Pallof press technique helps us target the core effectively while minimizing unnecessary movement through the lower back and hips.
Step 1: Set Up the Resistance
Attach a handle to a cable machine at approximately chest height, or secure a resistance band to a sturdy anchor at a similar level. Stand sideways to the anchor so the resistance pulls across the front of your body. Check that the cable attachment is secure or that the band is firmly anchored before beginning.
Step 2: Establish a Stable Stance
Stand with your feet approximately shoulder-width apart and your knees slightly bent. Keep your weight distributed across both feet, your hips level, and your chest upright. Hold the handle with both hands and bring it toward the center of your chest.
We should avoid leaning away from the cable or shifting our weight to compensate for excessive resistance. The goal is to establish a comfortable, balanced position before pressing.
Step 3: Brace the Core
Gently tighten the abdominal muscles as though preparing for a light push to the stomach. Keep breathing normally while maintaining a firm torso. The ribs should remain aligned over the pelvis, and the lower back should stay in a comfortable, natural position.
Effective bracing does not require holding the breath or squeezing every muscle as hard as possible. We want enough tension to maintain control without creating unnecessary stiffness.
Step 4: Press the Hands Forward
Slowly extend both arms directly in front of the chest until the elbows are nearly straight. As the hands move away from the body, the resistance will attempt to pull the torso toward the anchor point.
Our task is to resist that rotation. Keep the shoulders and hips facing forward, avoid twisting the spine, and maintain steady pressure through the feet. Pause briefly with the arms extended if we can do so without losing position.
Step 5: Return to the Starting Position
Bring the hands back toward the chest in a controlled manner. Avoid allowing the cable or band to pull the arms backward suddenly. Complete the desired repetitions, turn around, and repeat on the opposite side.
For beginners, we can start with 2–3 sets of 8–12 controlled repetitions per side. Each repetition should be smooth, deliberate, and free from unwanted trunk movement.
Key Benefits of the Pallof Press
The Pallof press offers several benefits that make it a useful exercise for a wide range of fitness programs.
Improved core stability: By resisting rotational forces, we train the abdominal and spinal stabilizing muscles to maintain a controlled trunk. This ability is useful during many compound exercises and everyday activities.
Better movement control: A stable torso helps us transfer force efficiently between the upper and lower body. Athletes may find this particularly useful during running, throwing, swinging, and changing direction, although performance improvements depend on the wider training program.
Functional strength development: Everyday activities rarely occur in perfectly controlled gym positions. Carrying bags, moving household objects, and reaching while holding a load can challenge our ability to maintain trunk alignment. The Pallof press trains a component of this control.
Adaptability for different fitness levels: We can adjust the resistance, stance, and body position to make the exercise easier or harder. A light resistance band may suit a beginner, while a cable machine with carefully selected resistance can provide a more consistent challenge.
Variety in core training: A balanced core program can include exercises that resist extension, resist rotation, produce controlled movement, and stabilize the spine. The Pallof press adds anti-rotation training without requiring repeated spinal twisting.
Although the exercise supports core strength, it does not specifically burn belly fat or guarantee a pain-free back. Fat loss depends on overall energy balance and activity, while back discomfort can have many causes. We should treat the Pallof press as one useful component of a broader fitness routine.
Best Pallof Press Variations for Different Fitness Levels
Changing our position or equipment allows us to train the same anti-rotation principle in different ways.
Standing Pallof Press
The standing variation is an excellent starting point for most people. It challenges the core while requiring us to maintain balance through the feet, knees, and hips. We should begin with light resistance and increase it only when we can keep the torso stable.
Half-Kneeling Pallof Press
In the half-kneeling variation, one knee rests on the floor while the opposite foot is planted in front. This position reduces some of the demands associated with standing and encourages control through the pelvis and trunk. We can switch the forward leg and adjust our orientation to the anchor to train both sides evenly.
Tall-Kneeling Pallof Press
For this variation, we kneel on both knees with the torso upright. Squeezing the glutes gently and maintaining the ribs over the pelvis helps prevent excessive arching of the lower back. The reduced contribution from the legs makes it easier to focus on trunk stability.
Pallof Press With a Resistance Band
A resistance band makes the exercise convenient for home workouts and travel. We need a secure anchor that can safely withstand the pulling force. Because band tension changes as it stretches, we should choose an appropriate distance from the anchor and avoid using damaged bands or unstable attachment points.
Pallof Press With a Cable Machine
A cable machine provides adjustable resistance and generally offers a consistent setup from one repetition to the next. We can gradually increase the load as our control improves, but we should not sacrifice alignment to move a heavier weight.
Common Pallof Press Mistakes to Avoid
Even though the Pallof press looks simple, poor technique can reduce its effectiveness. Recognizing these mistakes helps us maintain the exercise’s primary purpose.
Rotating the torso: Turning the shoulders or hips toward the anchor reduces the anti-rotation challenge. Keep the body facing forward throughout each repetition.
Using excessive resistance: If the cable pulls us off balance or makes us twist, the load is too heavy. Reduce resistance until we can control the movement.
Arching the lower back: Allowing the ribs to flare and the back to arch can compromise trunk positioning. Keep the ribs aligned over the pelvis and use a comfortable, neutral spine position.
Holding the breath: Breath-holding is unnecessary for most ordinary Pallof press sets. Maintain a steady breathing pattern while keeping the core engaged.
Moving too quickly: Rushing through the press reduces control. Extend and return the arms smoothly, pausing briefly when appropriate.
Ignoring one side: Resistance from either direction creates a different challenge. We should train both sides with comparable resistance and repetitions.
If the exercise causes sharp pain, dizziness, or unusual symptoms, stop and reassess the movement. People with existing injuries or medical restrictions should seek individualized guidance from an appropriate healthcare professional before adding challenging core exercises.
How to Add the Pallof Press to a Workout Routine
We can incorporate the Pallof press into a warm-up, a dedicated core session, or the accessory portion of a full-body strength workout. The best placement depends on the rest of our training and the amount of effort required by other exercises.
For general fitness, a practical starting point is 2–3 sets of 8–12 repetitions per side, performed two or three times per week as part of a balanced program. We should begin with light resistance and prioritize technique. If maintaining a stable position becomes difficult, we can reduce the load, shorten the lever by keeping the hands closer to the chest, or choose a more stable stance.
A simple core workout could include the following exercises:
| Exercise | Sets | Repetitions or duration |
|---|---|---|
| Pallof press | 2–3 | 8–12 per side |
| Dead bug | 2–3 | 8–12 per side |
| Bird dog | 2–3 | 8–10 per side |
| Front plank | 2–3 | 20–45 seconds |
Rest as needed to maintain good technique. These ranges are starting guidelines rather than strict requirements, and we should adjust them according to our experience, recovery, and training goals.
As our control improves, we can progress by increasing resistance slightly, extending the arms fully, adding a pause at the end of the press, or using a more demanding stance. We should change one variable at a time so that progress remains measurable and technique stays consistent.
The most important principle is to progress through better control before increasing resistance. A lighter Pallof press performed with a stable torso is more useful for anti-rotation training than a heavy repetition that causes the body to twist or lean.
Conclusion: Is the Pallof Press Worth Adding to Your Training?
The Pallof press is a versatile and effective core stability exercise that trains the body to resist unwanted rotation. By engaging the obliques, deep abdominal muscles, spinal stabilizers, and glutes, it helps us develop the control needed to maintain a stable torso during exercise and everyday movement.
Its simple setup, adjustable resistance, and range of variations make it suitable for many training environments, from home workouts with resistance bands to fully equipped gyms with cable machines. To get the most from the exercise, we should maintain proper alignment, breathe normally, use manageable resistance, and train both sides evenly.
When combined with other core exercises, strength training, and regular physical activity, the Pallof press can become a valuable part of a well-rounded fitness routine. Consistent practice and gradual progression allow us to build core stability while keeping the focus on controlled, purposeful movement.


 Tech1 month ago
TUF Gaming Laptop with Drivers in the Internet: The Complete 2026 Guide
- Business4 months ago
Tips for First-Time Chauffeur Service Users
- Blog3 months ago
Almawadahit.com Blog: A Guide to Modern Online Blogging and Digital Content in 2026
- Celebrity3 months ago
Erin Wagner: Biography, Career, Achievements, and Lasting Influence
- Blog3 months ago
Shiny or Shiny: The Complete 2026 Guide to Creating Stunning AI Images with ChatGPT, Picfont, and Image Compression Tools
- Business3 months ago
Voozon: Complete Guide, Meaning, Features, Benefits, and Everything You Need to Know
- Celebrity3 months ago
Luciana Pedraza: A Complete Biography of the Argentine Actress, Director, and Philanthropist
- Celebrity3 months ago
Solluminati Age (2026): Biography, Real Name, Birthday, Career, Height, and Life Story